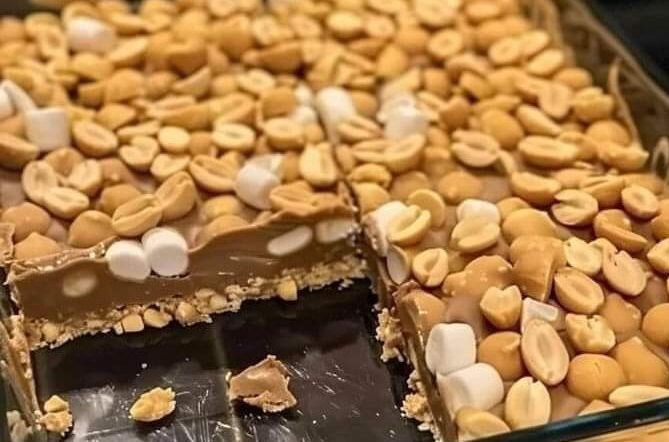
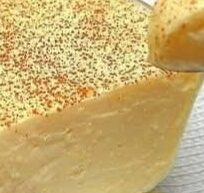
If you’re a fan of the combination of chocolate, caramel, and peanuts, these layered peanut caramel bars are going to be your new favorite treat. These bars are rich, sweet, and have the perfect balance of textures—from the crunch of peanuts to the gooeyness of caramel and the smoothness of chocolate. They’re perfect for parties, holidays, or whenever you need a little sweet indulgence. Here’s how to make them at home.
Ingredients:
For the Crust:
- 1 1/2 cups graham cracker crumbs
- 1/4 cup granulated sugar
- 1/2 cup unsalted butter, melted
For the Caramel Layer:
- 1 cup unsalted butter
- 1 cup brown sugar, packed
- 1/4 cup light corn syrup
- 1 can (14 oz) sweetened condensed milk
- 1 teaspoon vanilla extract
For the Chocolate Layer:
- 2 cups semisweet or milk chocolate chips
- 2 tablespoons unsalted butter
For the Toppings:
ADVERTISEMENT
- 1 1/2 cups salted peanuts, roughly chopped
- 1/2 cup mini marshmallows (optional)
- 1/2 cup butterscotch chips (optional)
Instructions:
- Prepare the Crust:
- Preheat your oven to 350°F (175°C).
- In a medium bowl, combine the graham cracker crumbs, granulated sugar, and melted butter. Mix until the crumbs are fully coated and the mixture resembles wet sand.
- Press the mixture evenly into the bottom of a 9×13-inch baking dish to form the crust. Use the back of a spoon or a flat-bottomed glass to compact it down firmly.
- Bake the crust for 8-10 minutes, until lightly golden. Remove from the oven and let it cool while you prepare the caramel layer.
- Make the Caramel Layer:
- In a medium saucepan, melt the butter over medium heat. Add the brown sugar, corn syrup, and sweetened condensed milk, stirring constantly.
- Bring the mixture to a gentle boil, continuing to stir. Allow it to boil for about 5-7 minutes, or until the caramel thickens and turns a deep golden color.
- Remove from the heat and stir in the vanilla extract.
- Pour the hot caramel evenly over the cooled crust, spreading it out to cover the entire surface.
- Prepare the Chocolate Layer:
- In a microwave-safe bowl, combine the chocolate chips and butter. Microwave in 30-second intervals, stirring between each, until the chocolate is fully melted and smooth.
- Pour the melted chocolate over the caramel layer, spreading it out evenly with a spatula.
- Add the Toppings:
- Immediately sprinkle the chopped salted peanuts over the warm chocolate layer, pressing them down gently to adhere.
- If using, also sprinkle the mini marshmallows and butterscotch chips over the top.
- Chill and Set:
- Allow the bars to cool at room temperature for about 30 minutes, then transfer the dish to the refrigerator.
- Chill the bars for at least 2 hours, or until the layers are firm and set.
- Serve:
- Once set, remove the bars from the refrigerator. Use a sharp knife to cut them into squares or rectangles.
- Serve them chilled or at room temperature.
Tips for Success:
- Caramel Consistency: Make sure to cook the caramel layer until it thickens properly. If it’s too runny, it may not set well, making the bars difficult to cut.
- Chocolate Layer: You can use either semisweet or milk chocolate, depending on your preference. If you like a more intense chocolate flavor, opt for dark chocolate.
- Toppings: Feel free to get creative with the toppings. In addition to peanuts and marshmallows, you could add crushed pretzels, toffee bits, or even a drizzle of melted white chocolate for extra flair.
- Storage: These bars can be stored in an airtight container in the refrigerator for up to a week. They also freeze well if you want to make them ahead of time.
These layered peanut caramel bars are a decadent treat that combines the best of sweet and salty flavors. With their rich layers and satisfying crunch, they’re sure to become a favorite in your household. Whether you’re making them for a special occasion or just to treat yourself, these bars are always a hit. Enjoy every indulgent bite!

